Zero-budget video series: a phone-and-daylight production checklist
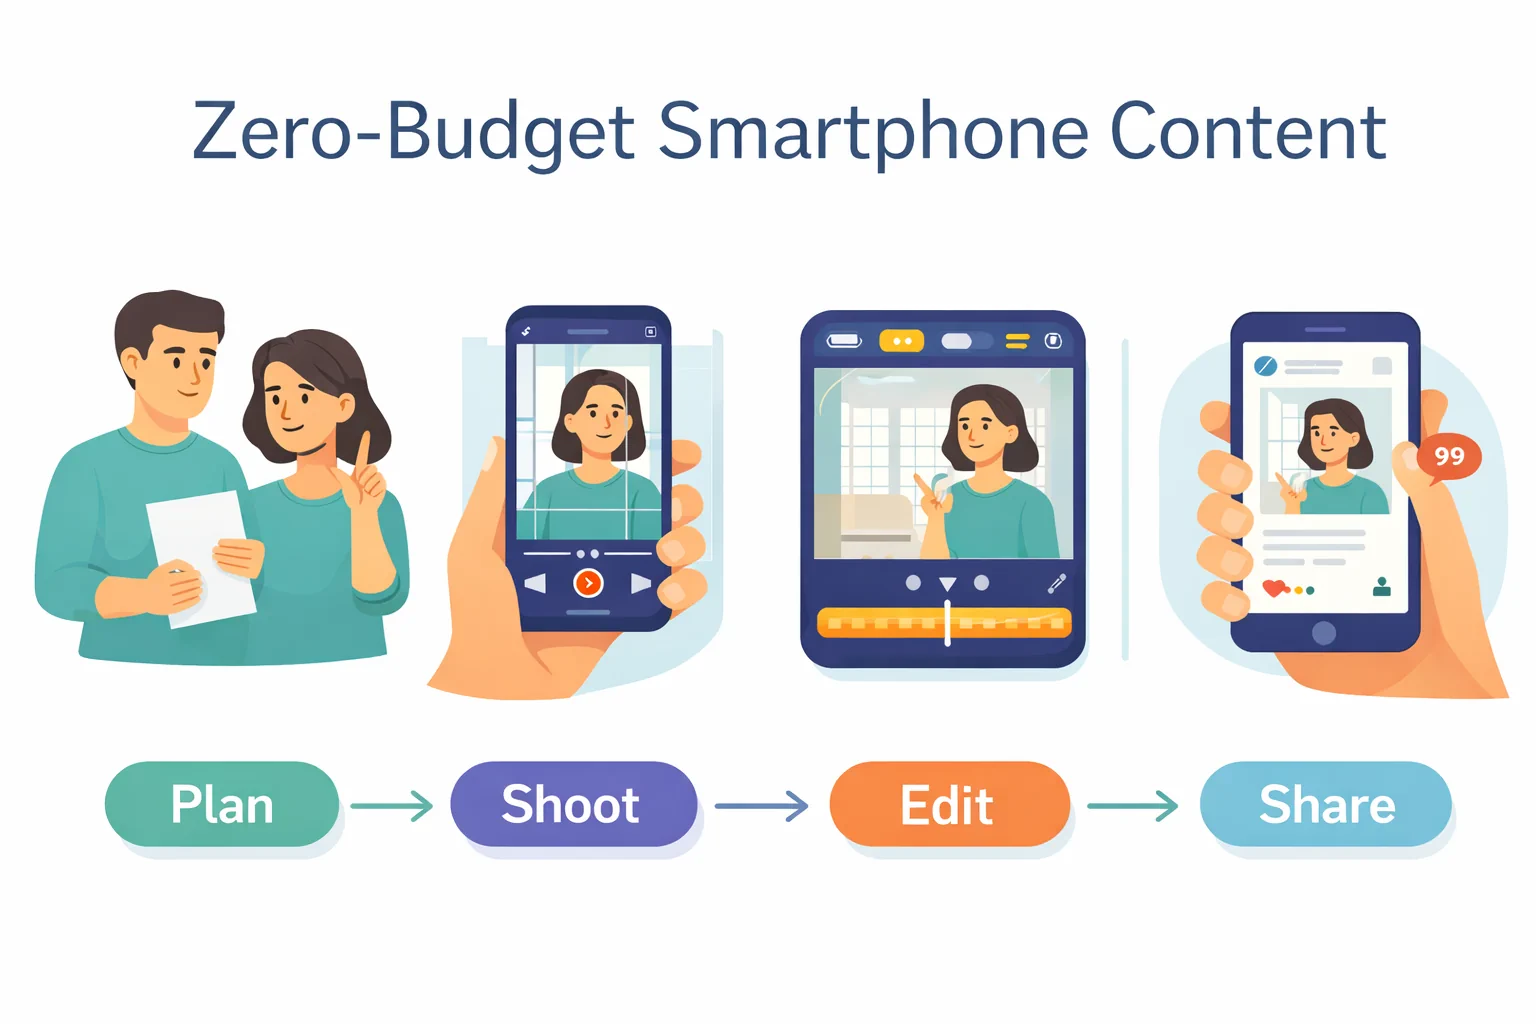
You do not need a studio, a large production budget, or a full video team to publish a useful short-form video series. You need a repeatable process.
That distinction matters. Many brands fail at video because they treat every clip like a new creative project. They choose a topic, find a location, write a caption, shoot, edit, and publish from scratch every time. That approach works for a few posts, then breaks as soon as client work, operations, or daily business gets busy.
A zero-budget video series works differently. You create one simple format, film several episodes in one session, and publish them over time. Your phone and daylight are enough if the idea is clear, the audio is usable, and the series has a reason to exist.
This guide gives you a practical phone-and-daylight production map you can use for Reels, TikTok, YouTube Shorts, LinkedIn video, Facebook, X, and other short-form placements.
Start with a series, not a random video
A single video asks, “What should we post today?”
A series asks, “What format can we repeat for the next 10 posts?”
That is the difference between constant creative pressure and a manageable content system.
Choose one simple series promise:
- One practical tip for small business owners
- One product mistake to avoid
- One behind-the-scenes lesson per week
- One customer question answered in 30 seconds
- One myth in your industry explained clearly
- One before-and-after workflow improvement
A good series has three traits:
- Specific audience: You know who the video is for.
- Repeatable structure: Each episode follows a familiar pattern.
- Low production burden: You can film several episodes in one sitting.
If you already use a weekly social media calendar, treat the series as one recurring slot instead of a separate project.
Choose a format you can maintain
For zero-budget production, avoid formats that require too many locations, props, edits, or approvals. Start with one of these:
Talking-head tip
Best for founders, consultants, creators, agencies, and service providers.
Structure:
- Hook: name the problem
- Tip: explain one fix
- Example: show how it applies
- CTA: ask viewers to save, comment, or try it
Screen-recording walkthrough
Best for software, ecommerce, education, and marketing teams.
Structure:
- Show the problem on screen
- Walk through the fix
- Highlight the final result
- Invite viewers to use the process
Object or workspace demo
Best for local businesses, creators, product brands, designers, and service providers.
Structure:
- Show the object, setup, or workspace
- Explain what viewers usually miss
- Give one practical takeaway
Voiceover over B-roll
Best for people who do not want to appear on camera.
Structure:
- Film simple process clips
- Add a concise voiceover
- Use on-screen text to guide the story
For more ideas on building trust without showing your face, see the guide to faceless content.
Build a daylight map
Natural light is free, but it changes quickly. A daylight map helps you avoid guessing every time you film.
Walk through your home, office, store, or studio and identify three filming zones:
Zone 1: Soft front light
This is usually near a window where the light faces you directly. It is the safest option for talking-head videos.
Use it for:
- Tips
- Founder videos
- Client education
- Tutorials
Avoid standing with the window behind you unless you want a silhouette.
Zone 2: Side light
Side light creates more depth and texture. It can look more editorial, but it may create shadows.
Use it for:
- Product detail shots
- Workspace clips
- Behind-the-scenes footage
- More dramatic storytelling
Zone 3: Open shade
Open shade is outdoors or near a doorway where the light is bright but not harsh. It is useful when indoor light is too weak.
Use it for:
- Local business videos
- Service demonstrations
- Lifestyle clips
- Quick explainers
Once you find the best time for each zone, write it down. Your production process becomes much easier when you know that the front window works best from 9:00 to 10:30 a.m. or the shaded doorway works best after lunch.
Prepare a five-episode batch
Do not start by filming 30 videos. Start with five. That is enough to test the format without making the project too heavy.
For each episode, write a one-line brief:
- Episode topic
- Main point
- Example or proof
- CTA
- Platform priority
Example for a local bakery:
- Topic: Why sourdough sells out early
- Main point: fermentation and small-batch timing
- Example: morning shelf clip
- CTA: follow for tomorrow’s flavor
- Platform priority: Instagram Reels and TikTok
Example for a consultant:
- Topic: One mistake in service pricing
- Main point: pricing by time hides business value
- Example: fixed-fee package explanation
- CTA: save before updating your offer
- Platform priority: LinkedIn and YouTube Shorts
Phone setup checklist
Before recording, check the basics. These details matter more than expensive gear.
- Clean the lens.
- Record vertically for 9:16 platforms.
- Use the rear camera when possible.
- Lock focus and exposure if your phone allows it.
- Put the phone at eye level for talking-head clips.
- Keep the background simple.
- Turn off noisy fans or machines.
- Record a 10-second test and listen to it.
- Leave space around your head for captions and cropping.
- Film two takes of every episode.
Audio is often more important than image quality. If the room echoes, move closer to soft materials like curtains, rugs, clothing racks, or upholstered furniture.
A simple filming sequence
Use this order to avoid decision fatigue:
- Set the phone and light once.
- Record all hooks first.
- Record the body of each video.
- Record any B-roll or cutaway clips.
- Record one backup take for weak episodes.
- Rename or organize clips immediately.
Recording all hooks first may feel strange, but it helps you compare energy and clarity. Hooks often decide whether a short video gets watched, so do not treat them as an afterthought.
Editing without overproducing
Zero-budget editing should make the video clearer, not more complicated.
Focus on:
- Removing pauses
- Adding readable captions
- Cutting anything that repeats the same point
- Making the first two seconds clear
- Adding a simple end screen or final line
Avoid adding too many effects, stickers, and transitions if they do not support the message. A clear 25-second video is better than a noisy 45-second edit.
Turn the batch into a publishing plan
Once the videos are edited, schedule them like a series rather than posting them randomly.
A practical rhythm could be:
- Monday: episode 1 on Instagram, TikTok, and YouTube Shorts
- Tuesday: LinkedIn version with more context
- Wednesday: episode 2
- Friday: recap or related static post
Postoria can help keep this organized by letting you plan videos in a visual calendar, schedule across supported platforms, and keep the media files connected to the campaign. If you are repurposing one video into several platform-specific versions, the guide on how to adapt one video for six platforms is a useful next step.
What to measure after publishing
Do not judge the series from one video. Review at least five episodes.
Look for:
- Which hooks kept people watching
- Which topics earned saves or comments
- Which platform responded best
- Which videos were easiest to make
- Which CTAs led to action
The winning format is not always the video with the most views. For a business, the best format may be the one that consistently creates profile visits, qualified comments, website clicks, or sales conversations.
Conclusion
A zero-budget video series is not about making low-effort content. It is about designing a production system you can repeat.
Start with one audience, one series promise, one daylight setup, and five episodes. Film them in a batch, publish them with a consistent rhythm, and review what people actually respond to. With a simple calendar and a realistic workflow, your phone can become a dependable content production tool instead of another source of pressure.